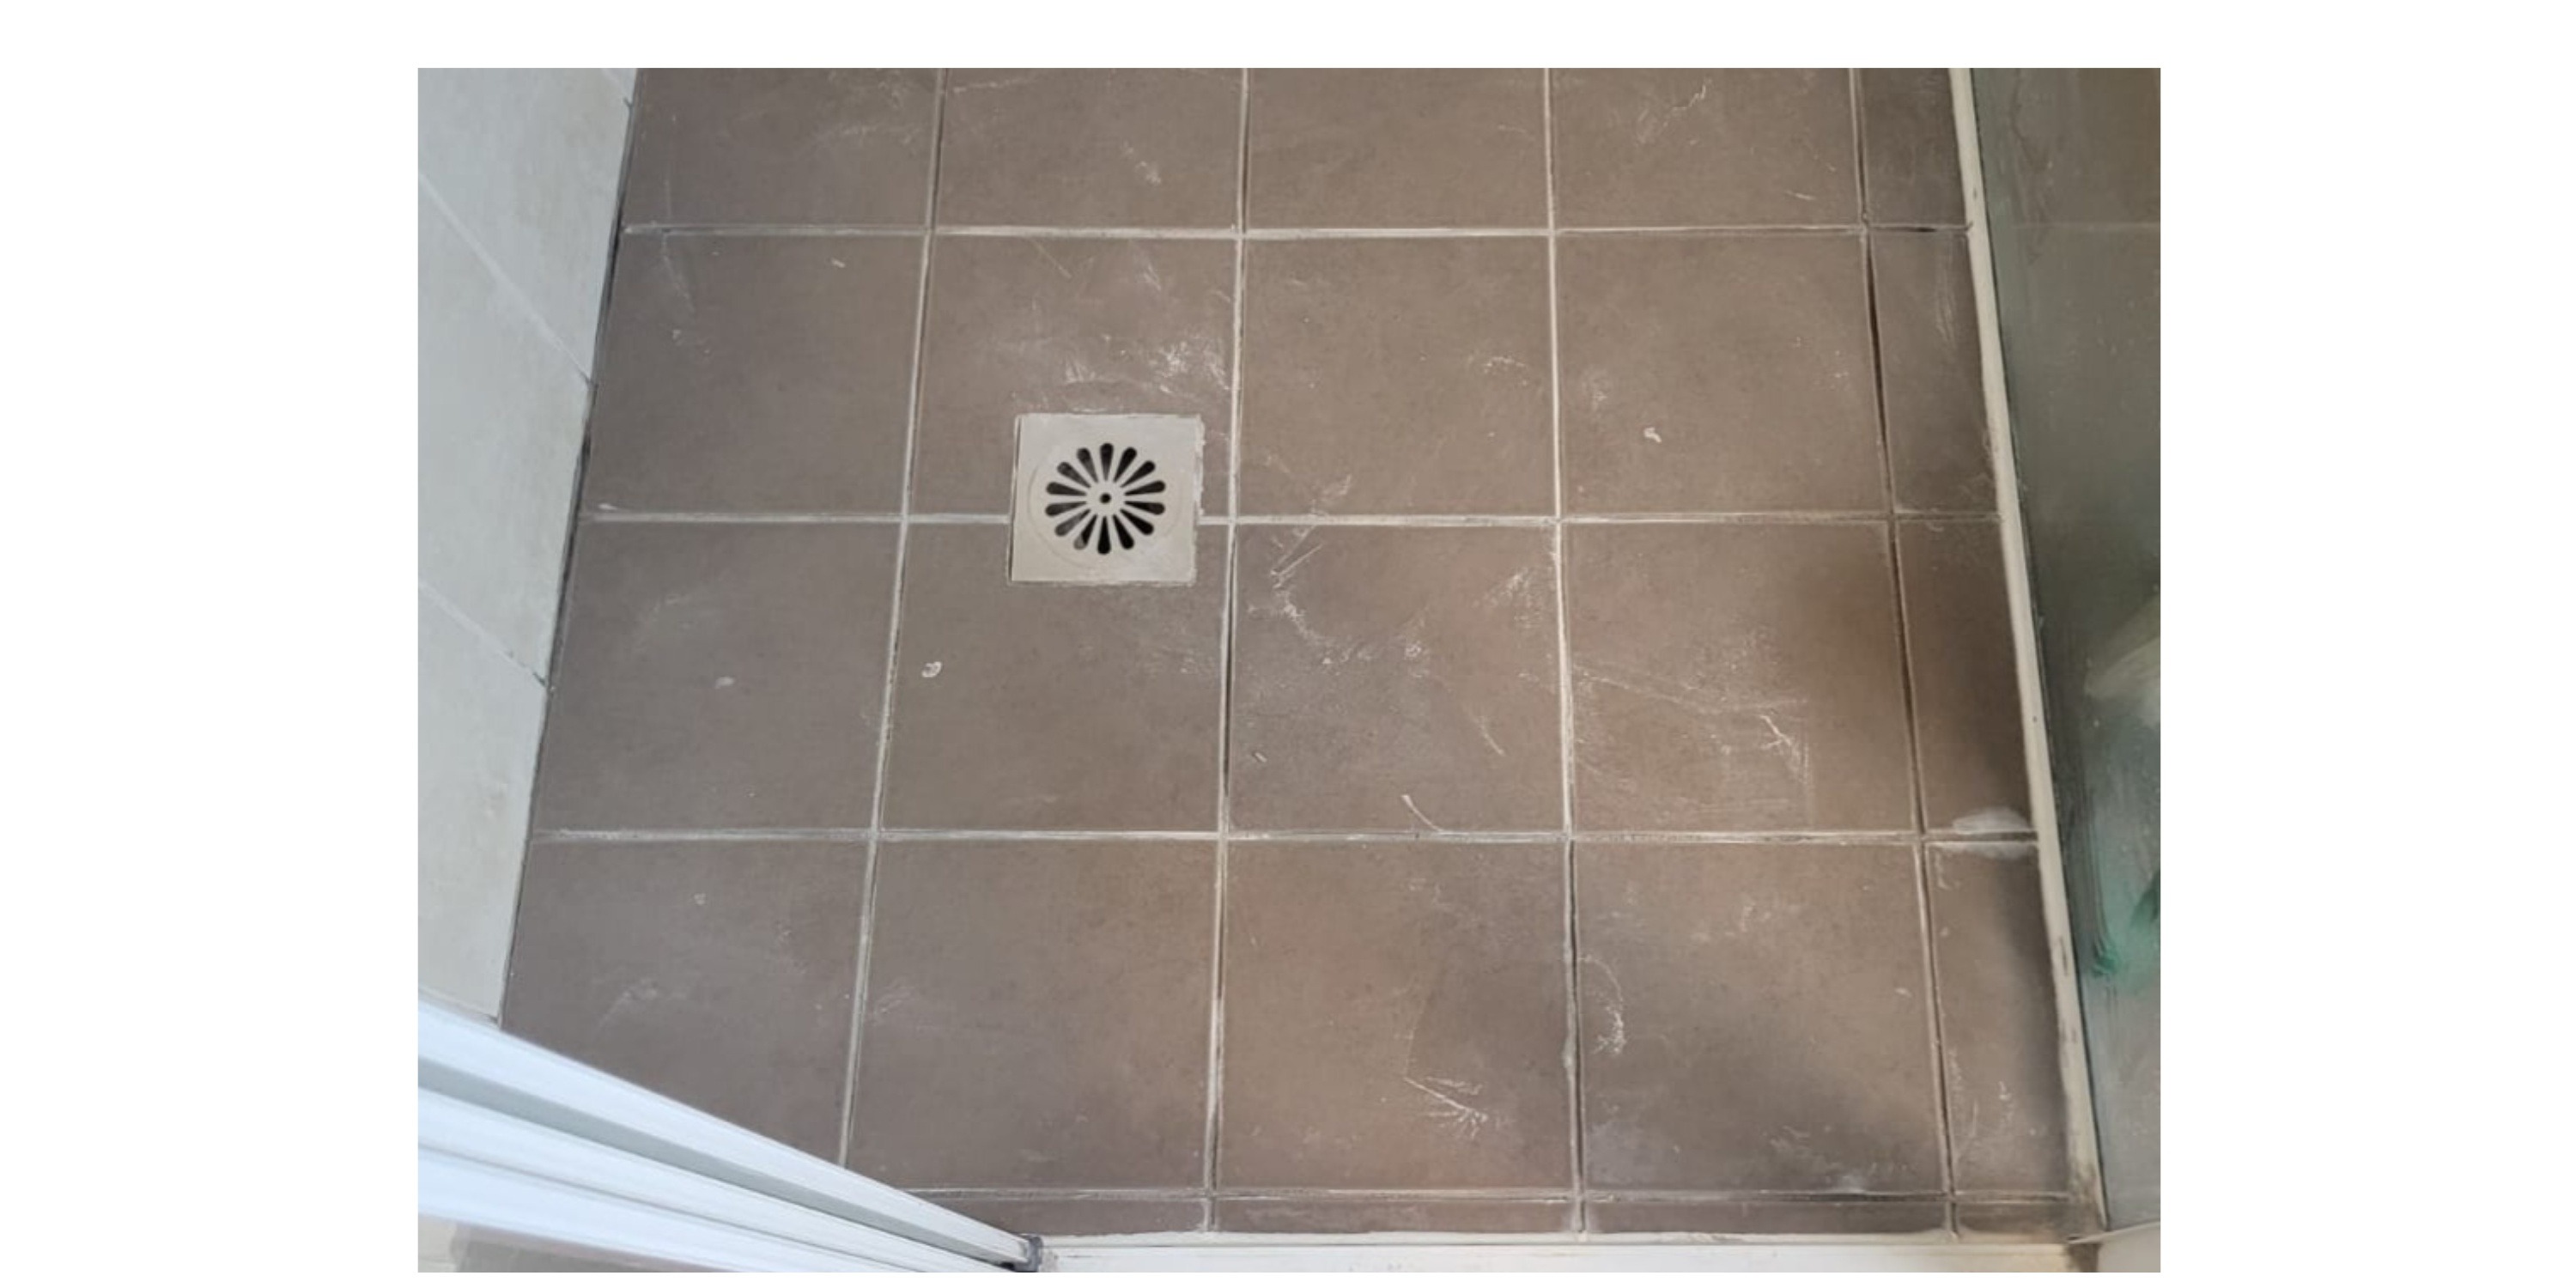
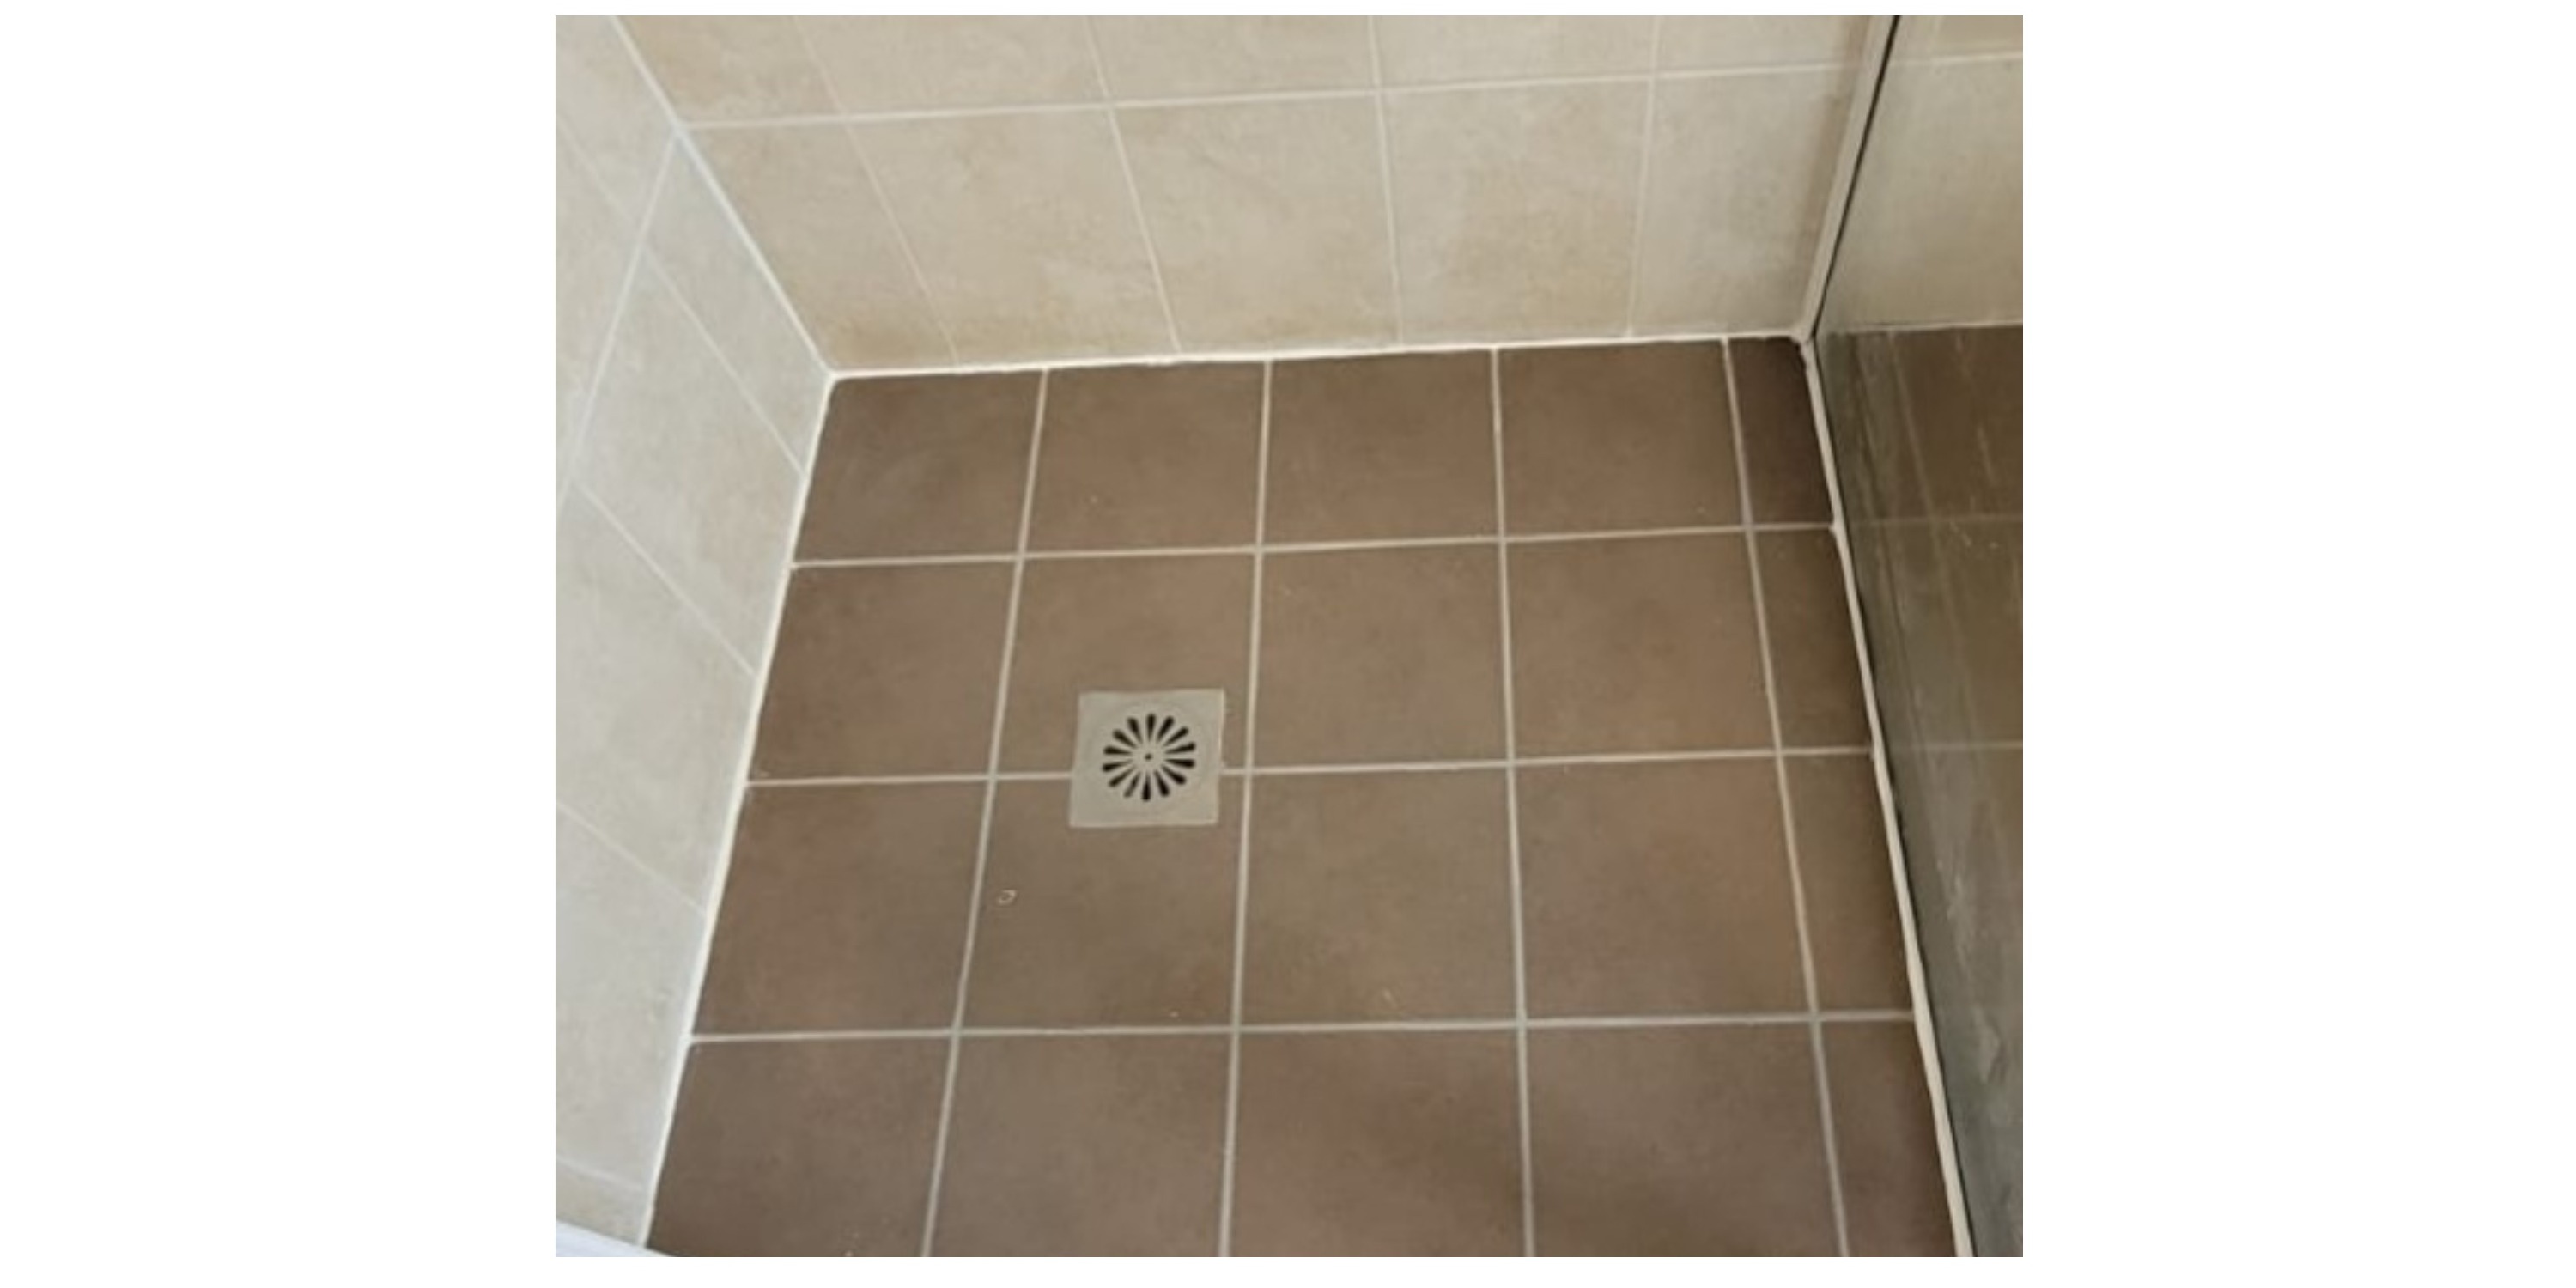
 BeforeAfter
Grout and joint restoration
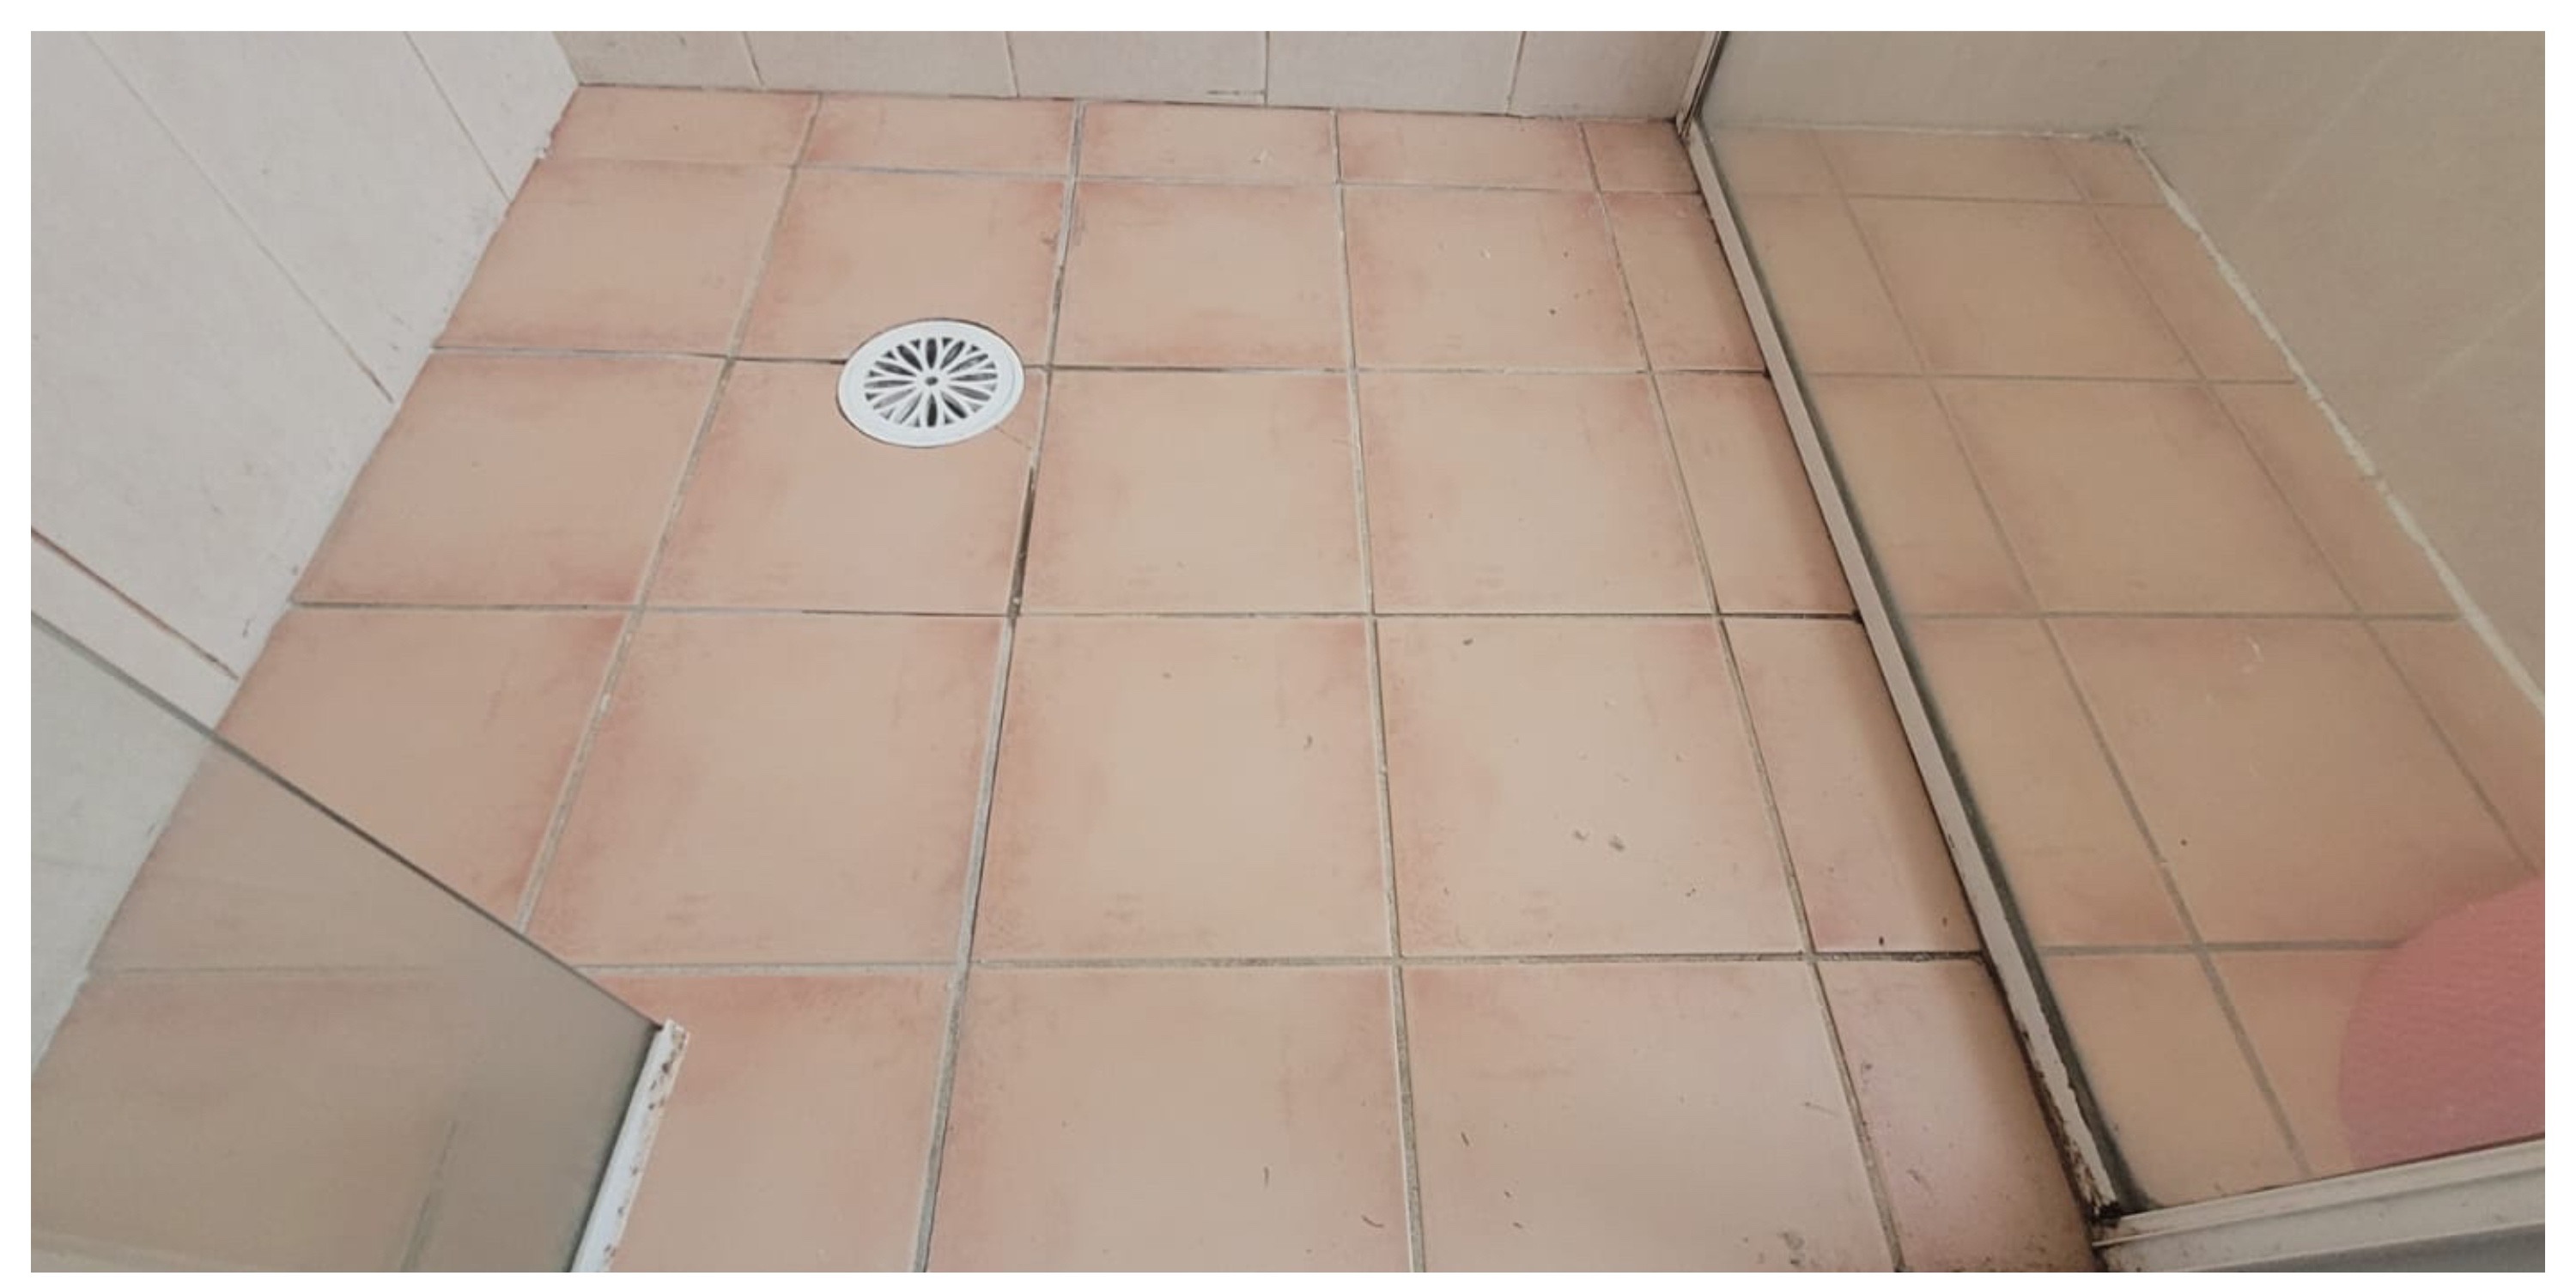
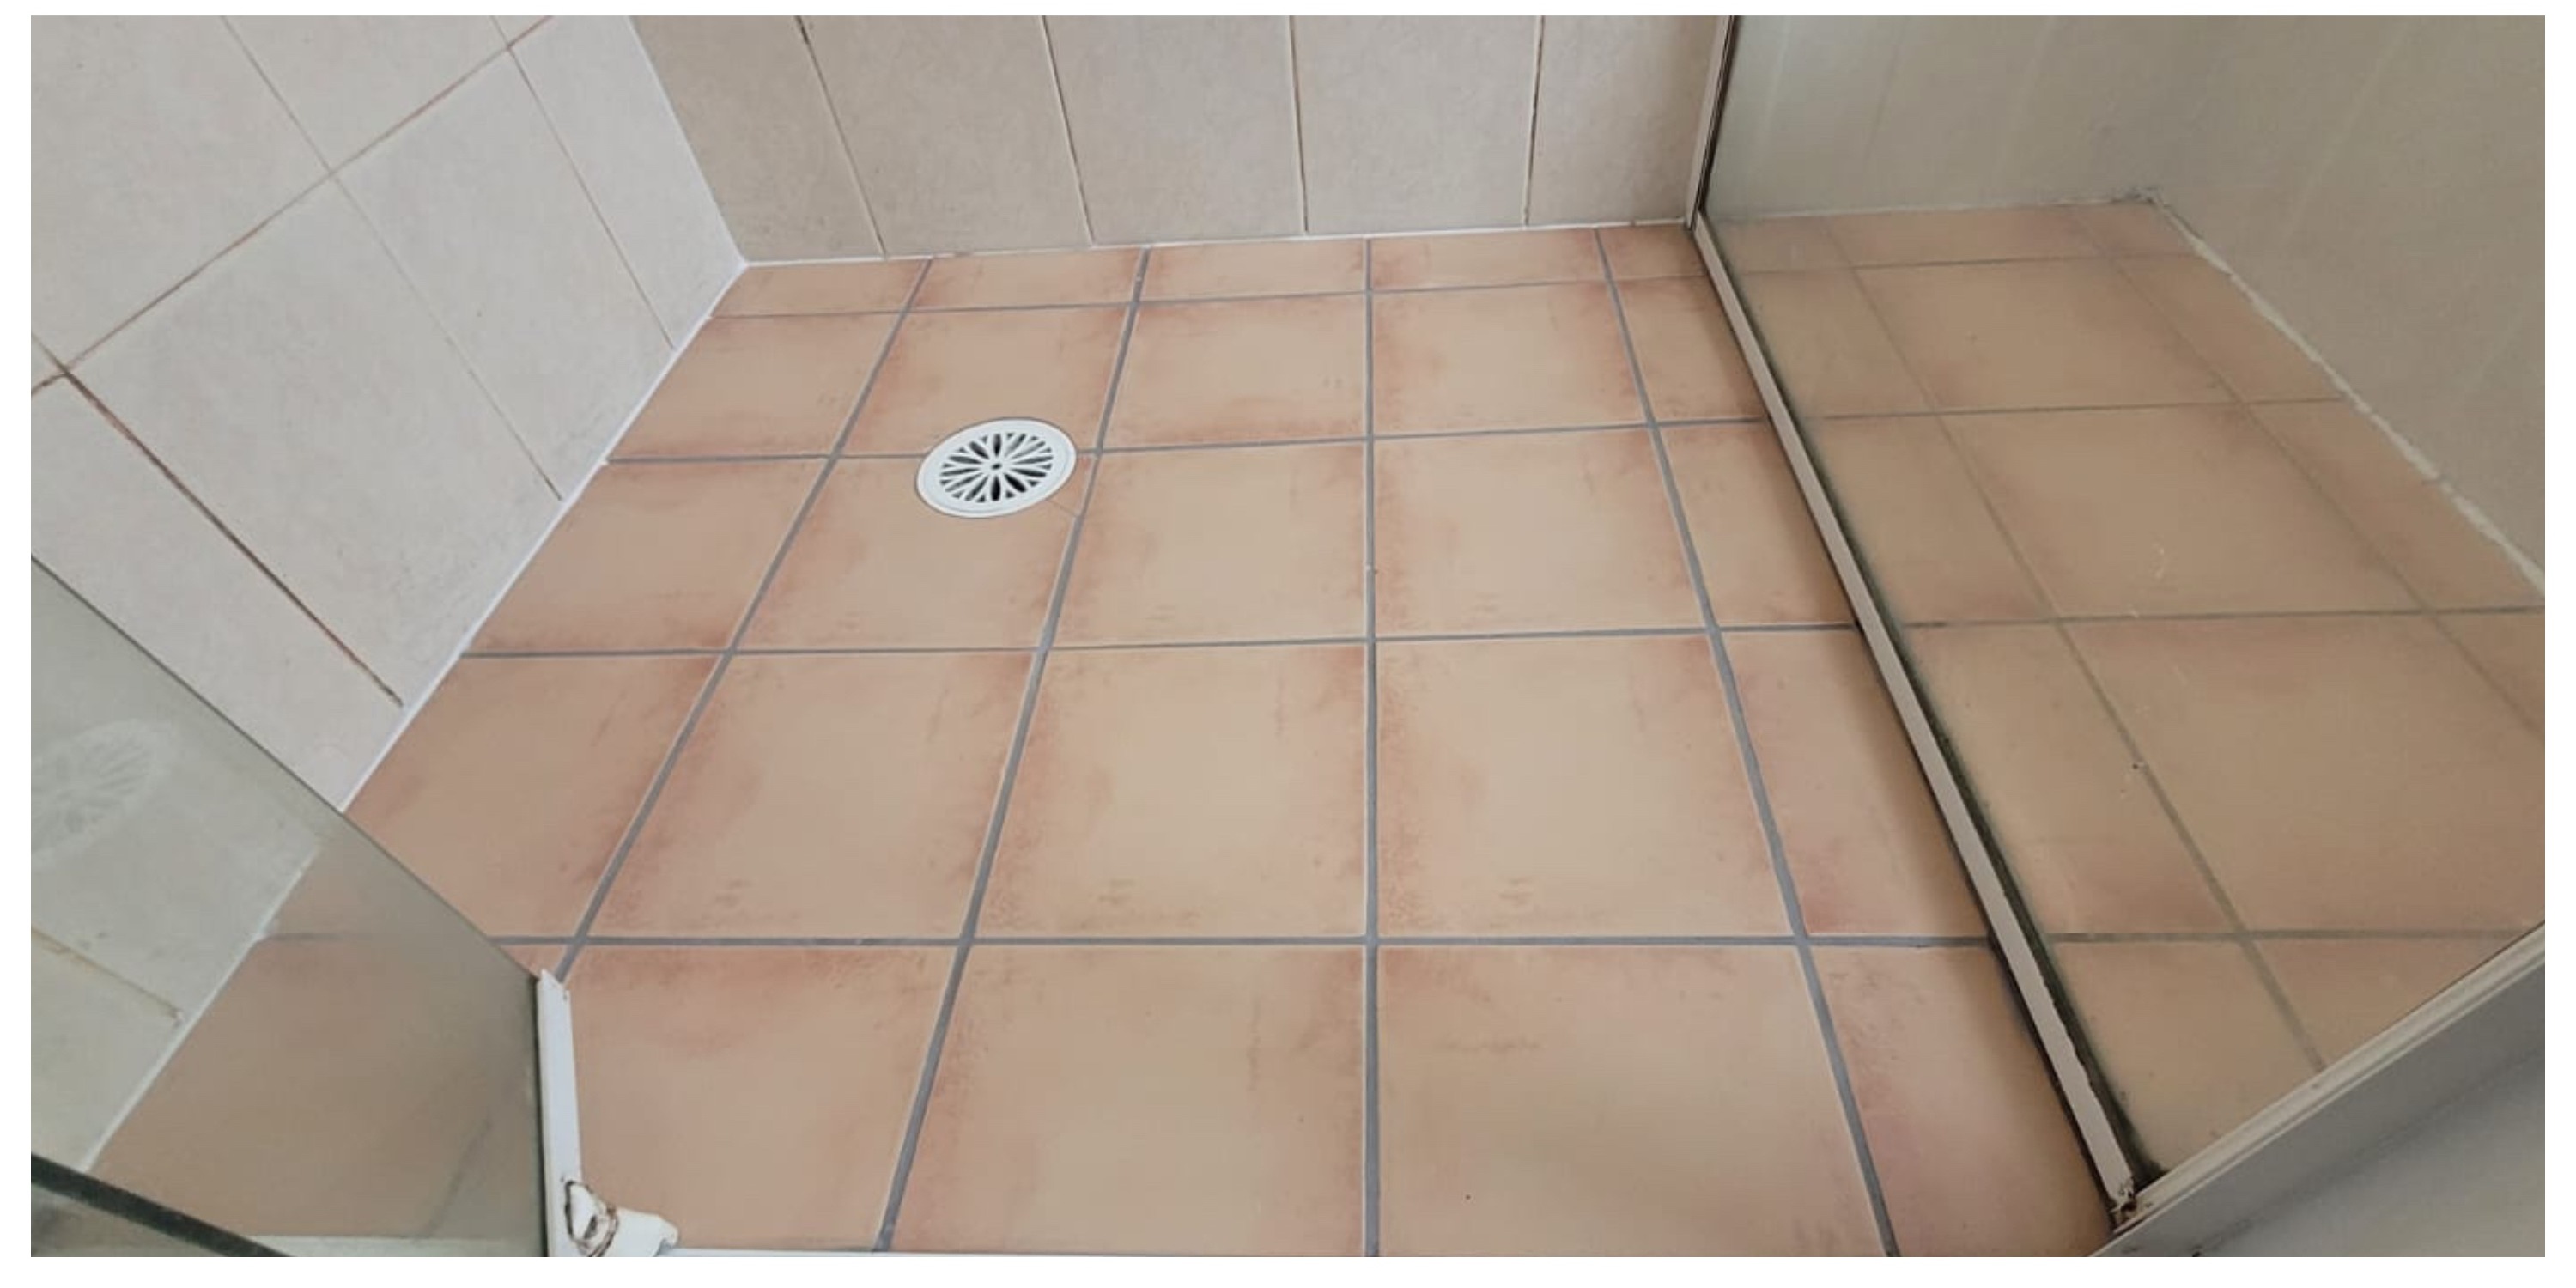
Damaged shower-floor joints restored to a cleaner, sealed finish.
Before & after
See how careful preparation, grout restoration and professional resealing can transform vulnerable shower joints without removing the tiles.
Newly completed job
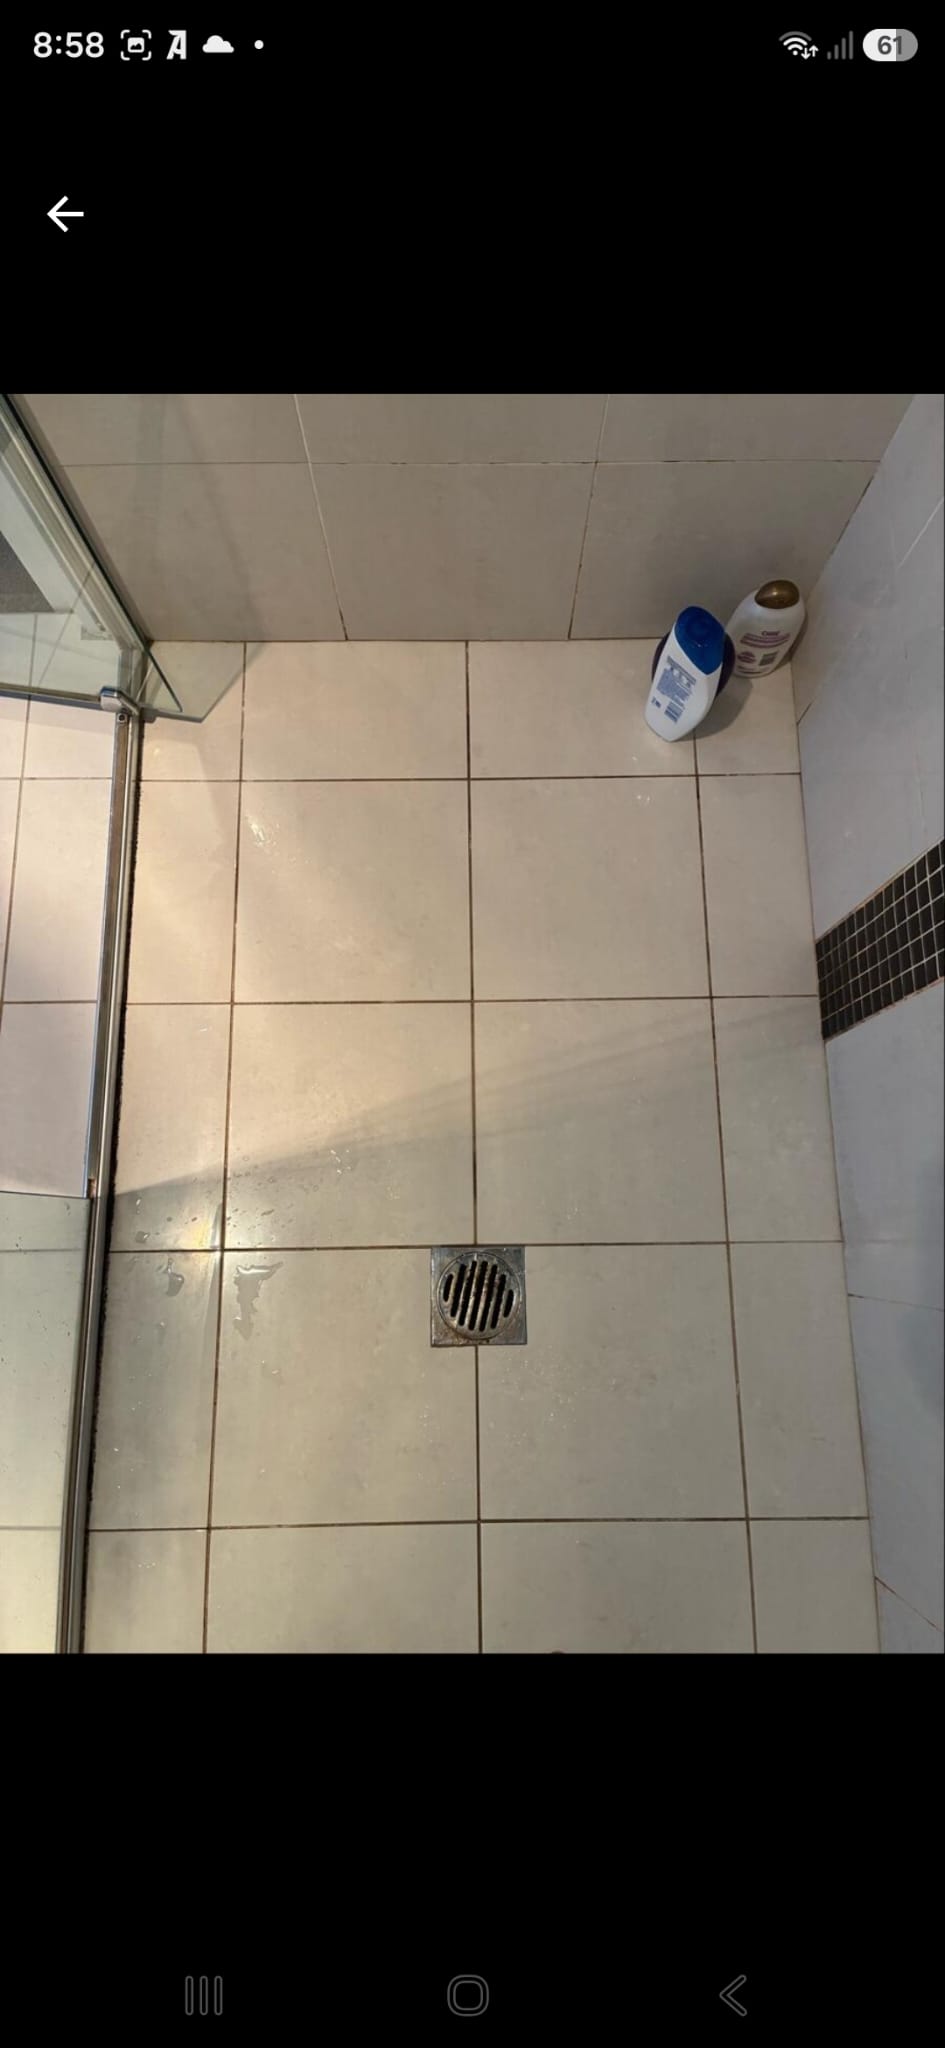
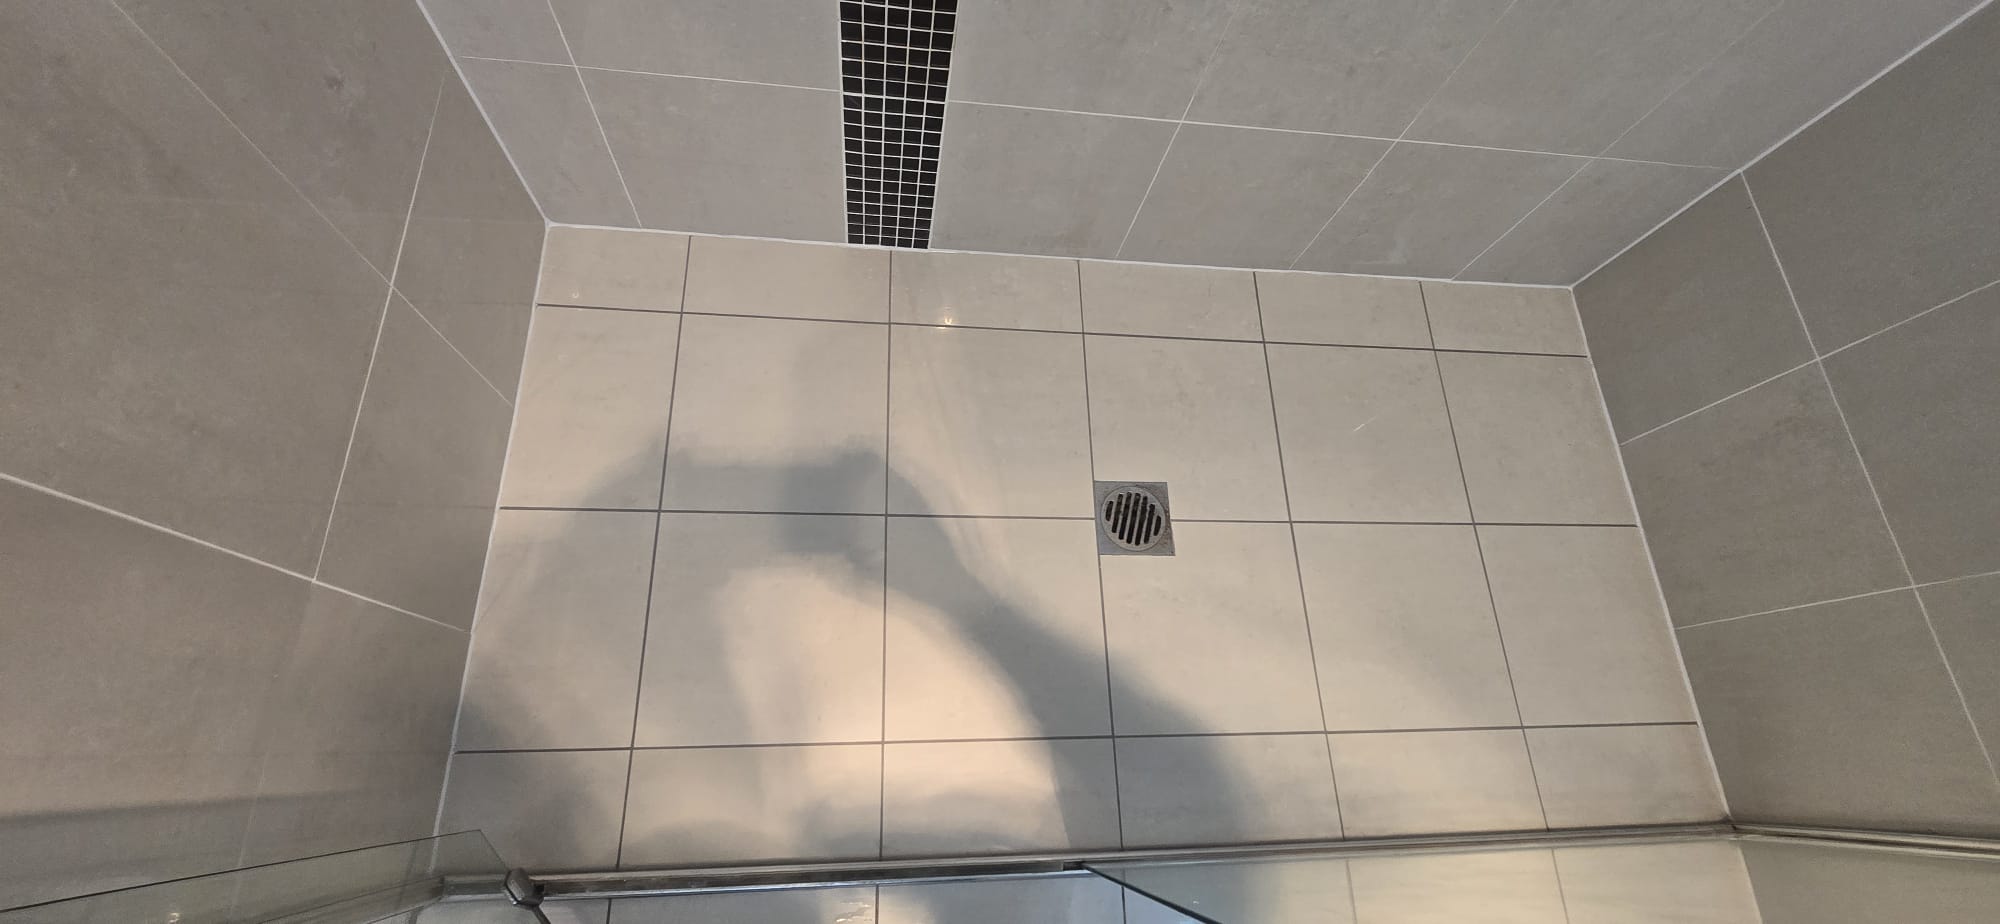
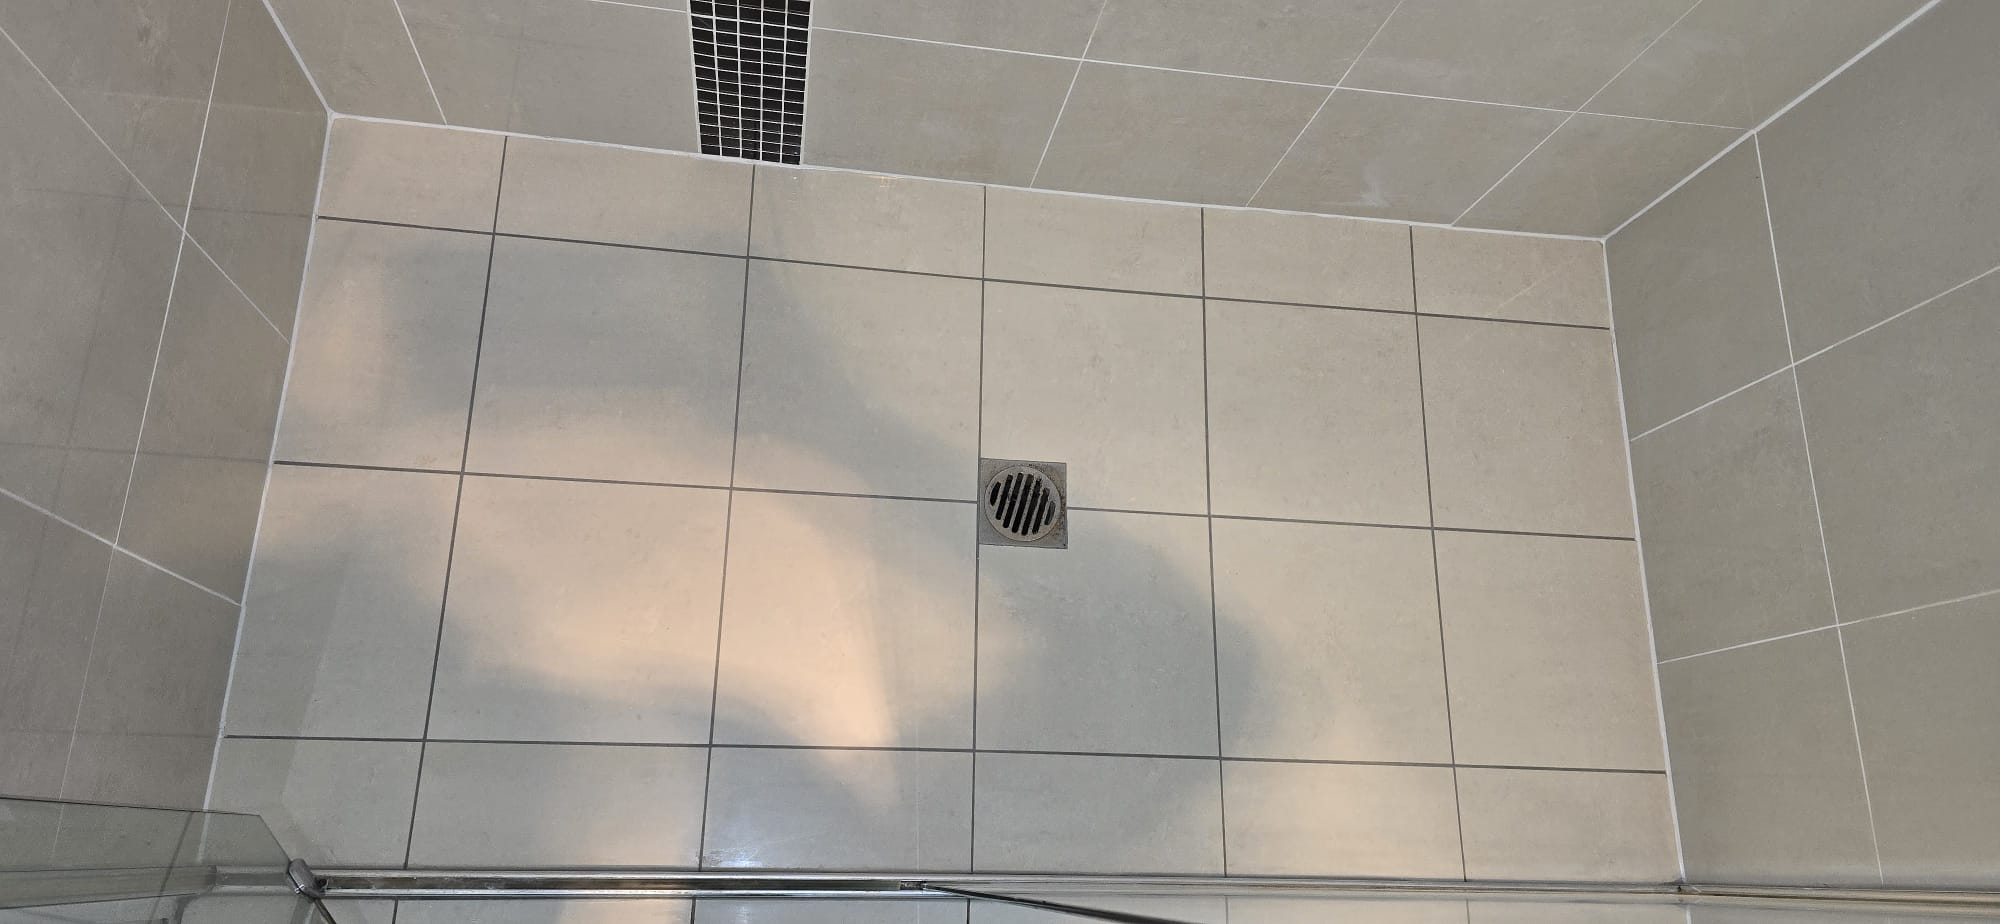
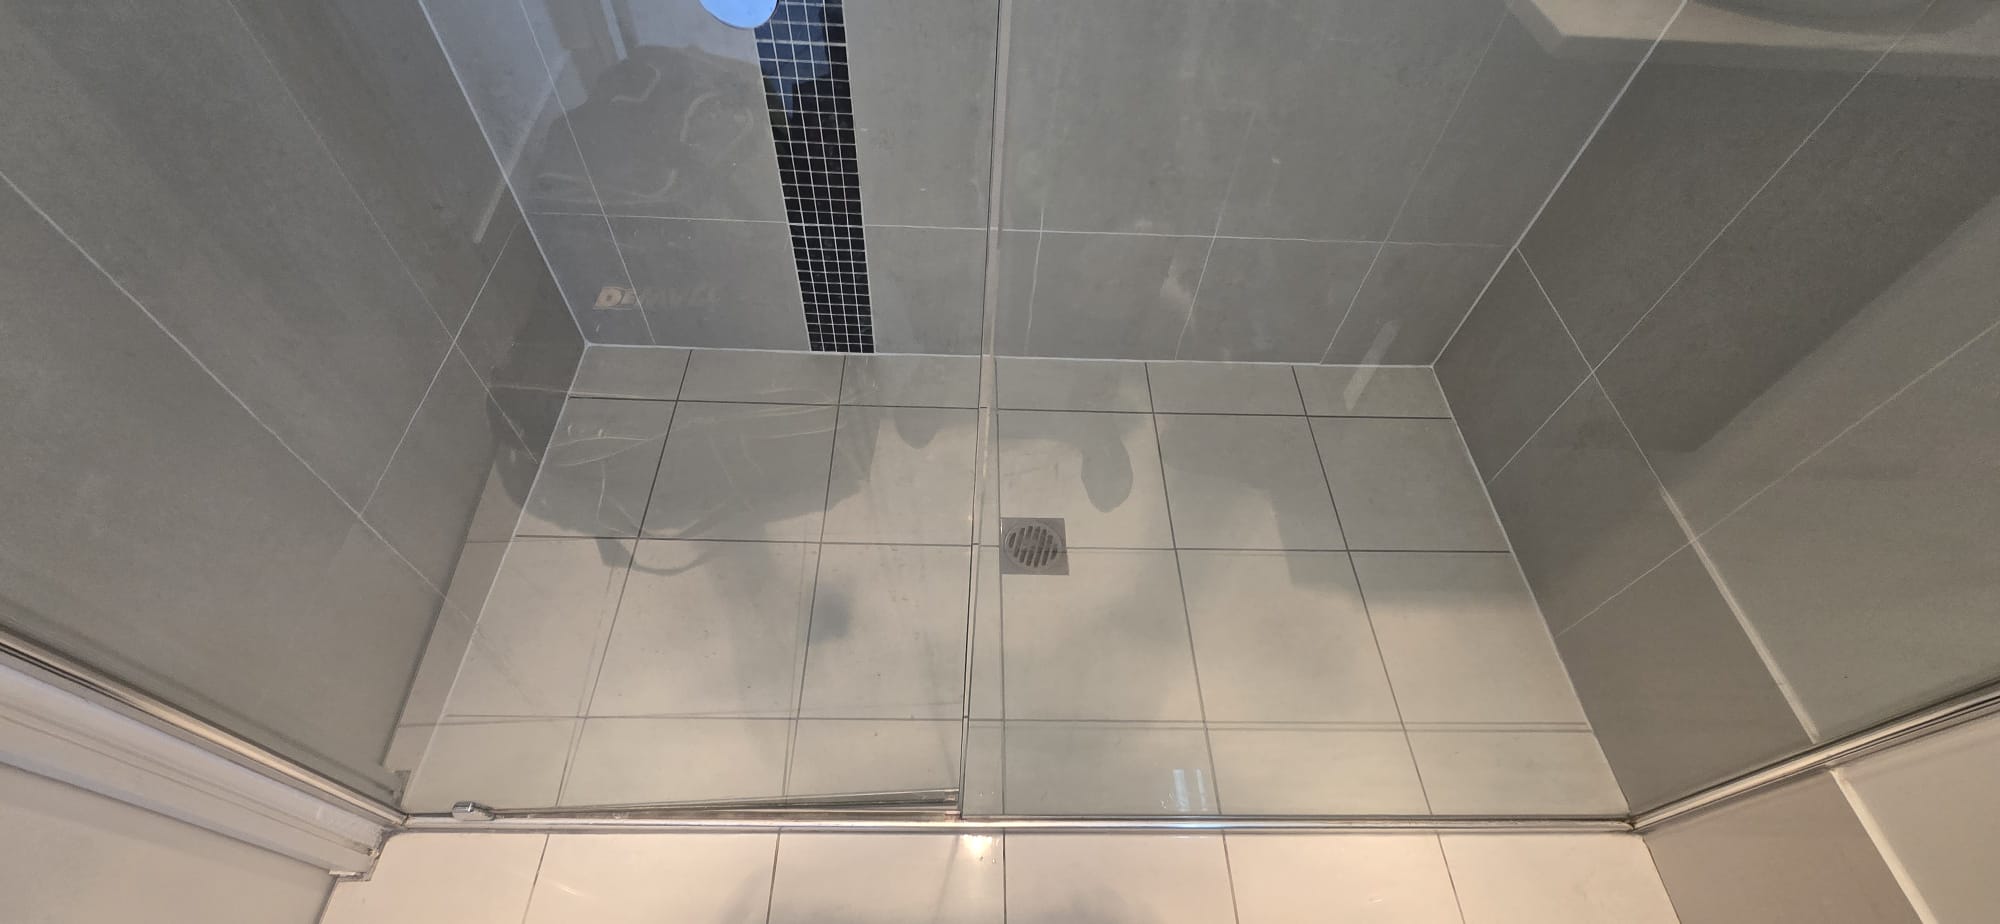
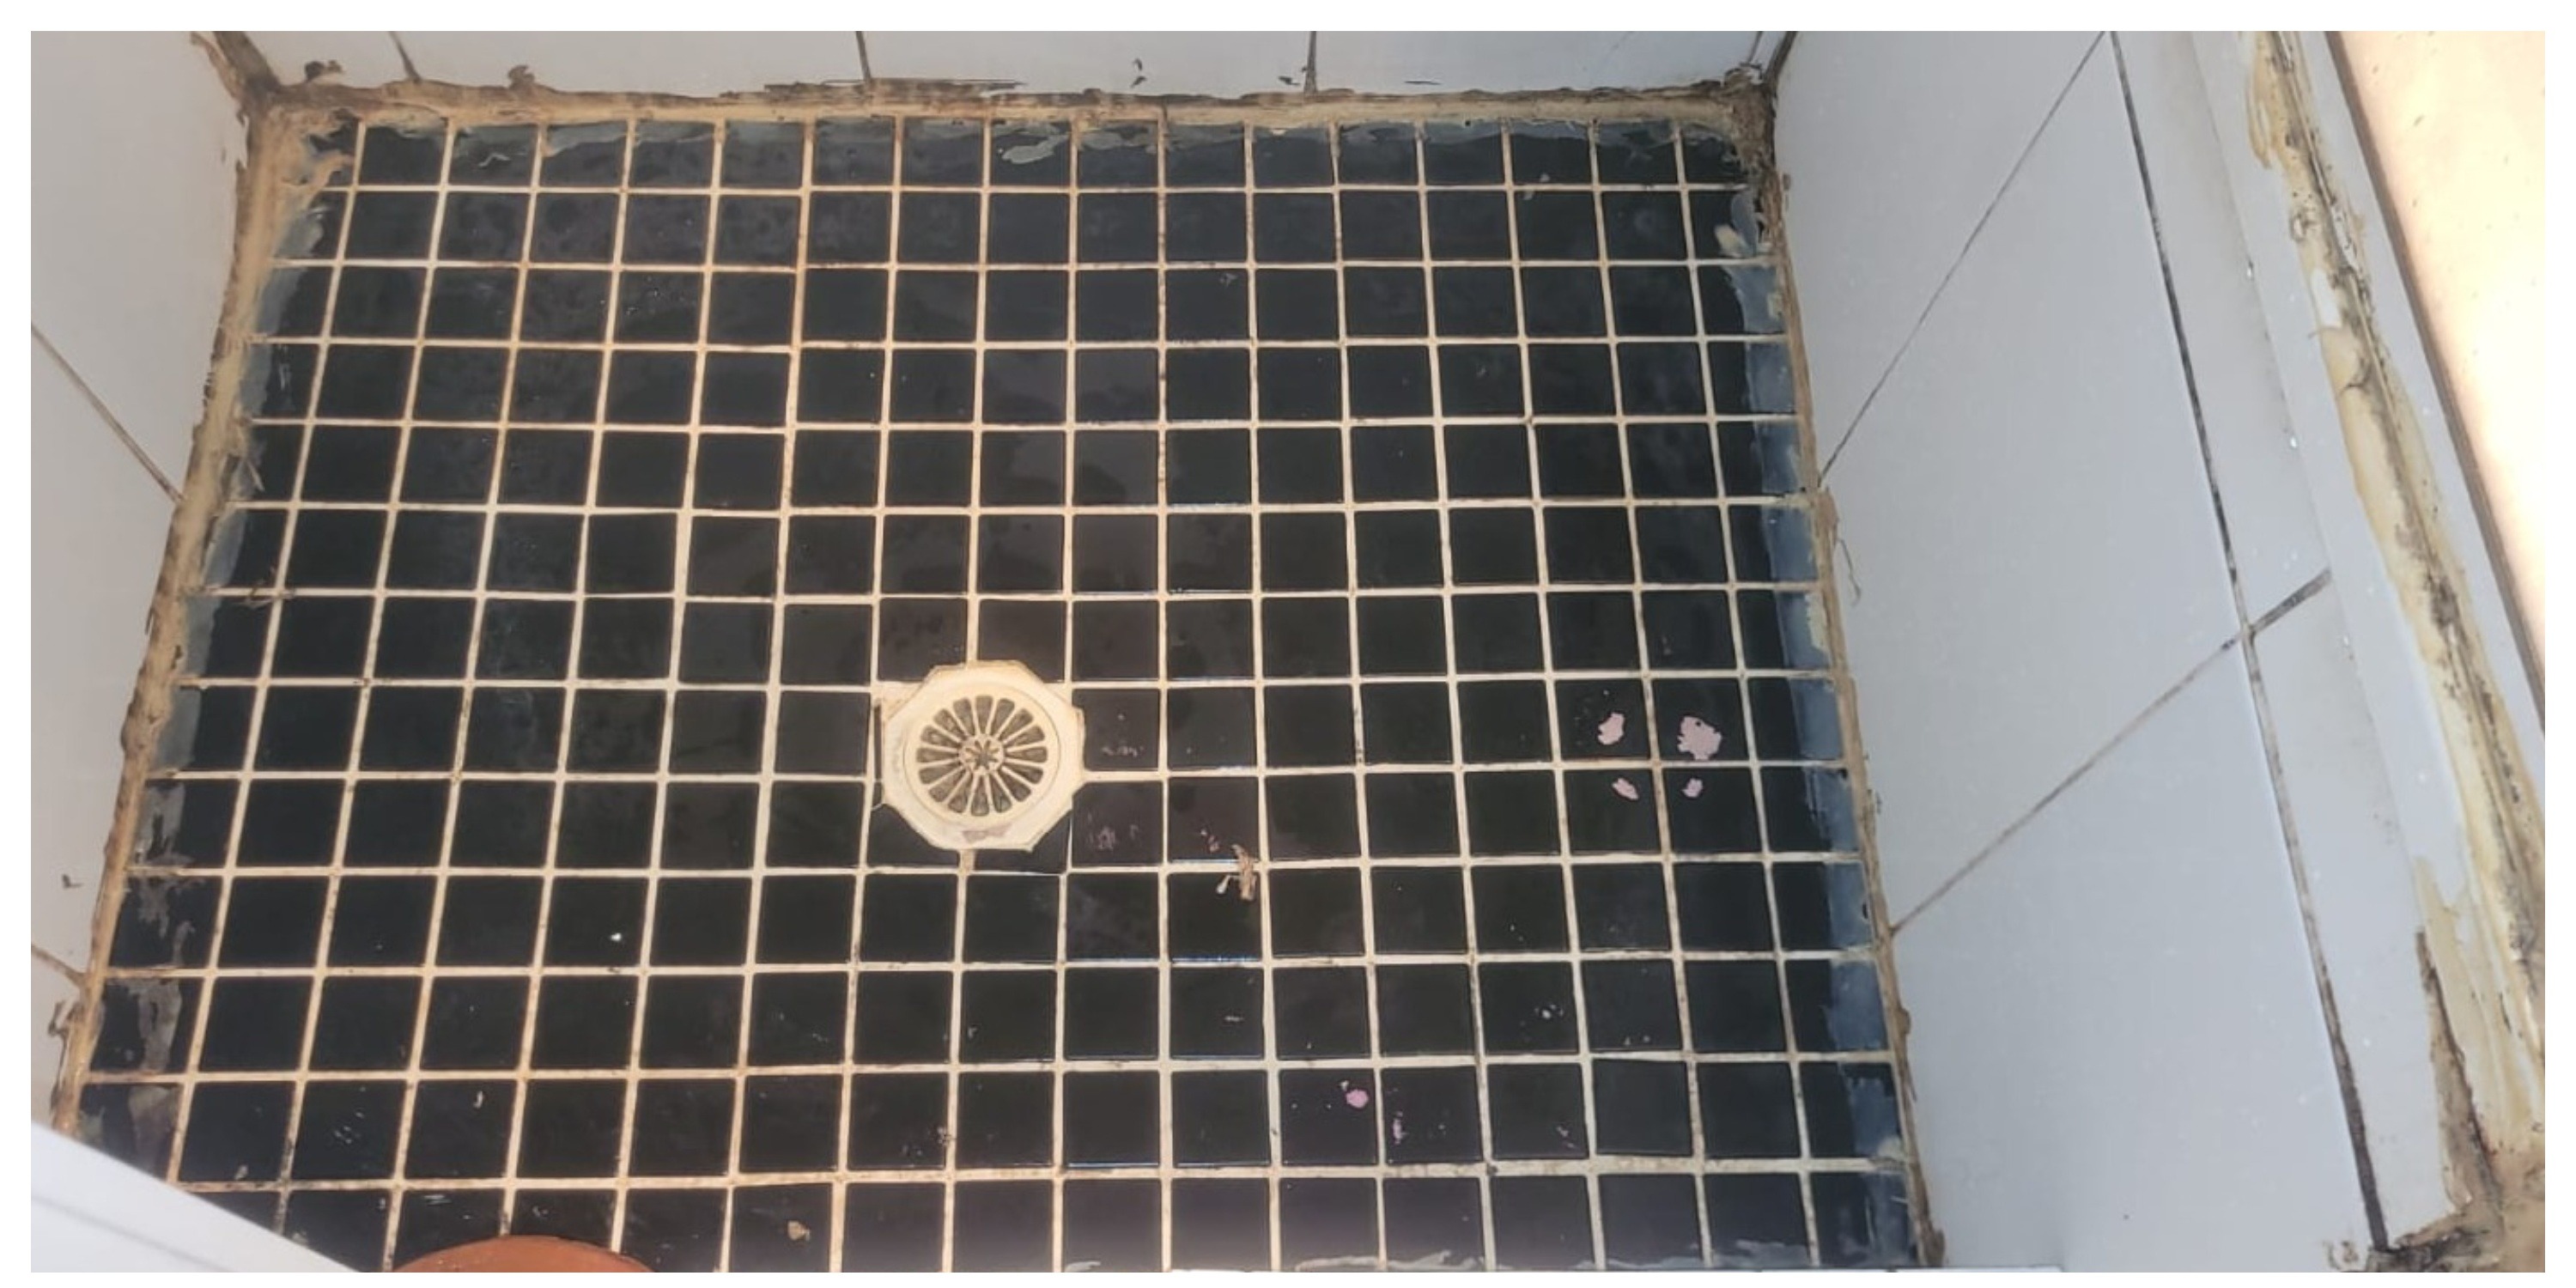
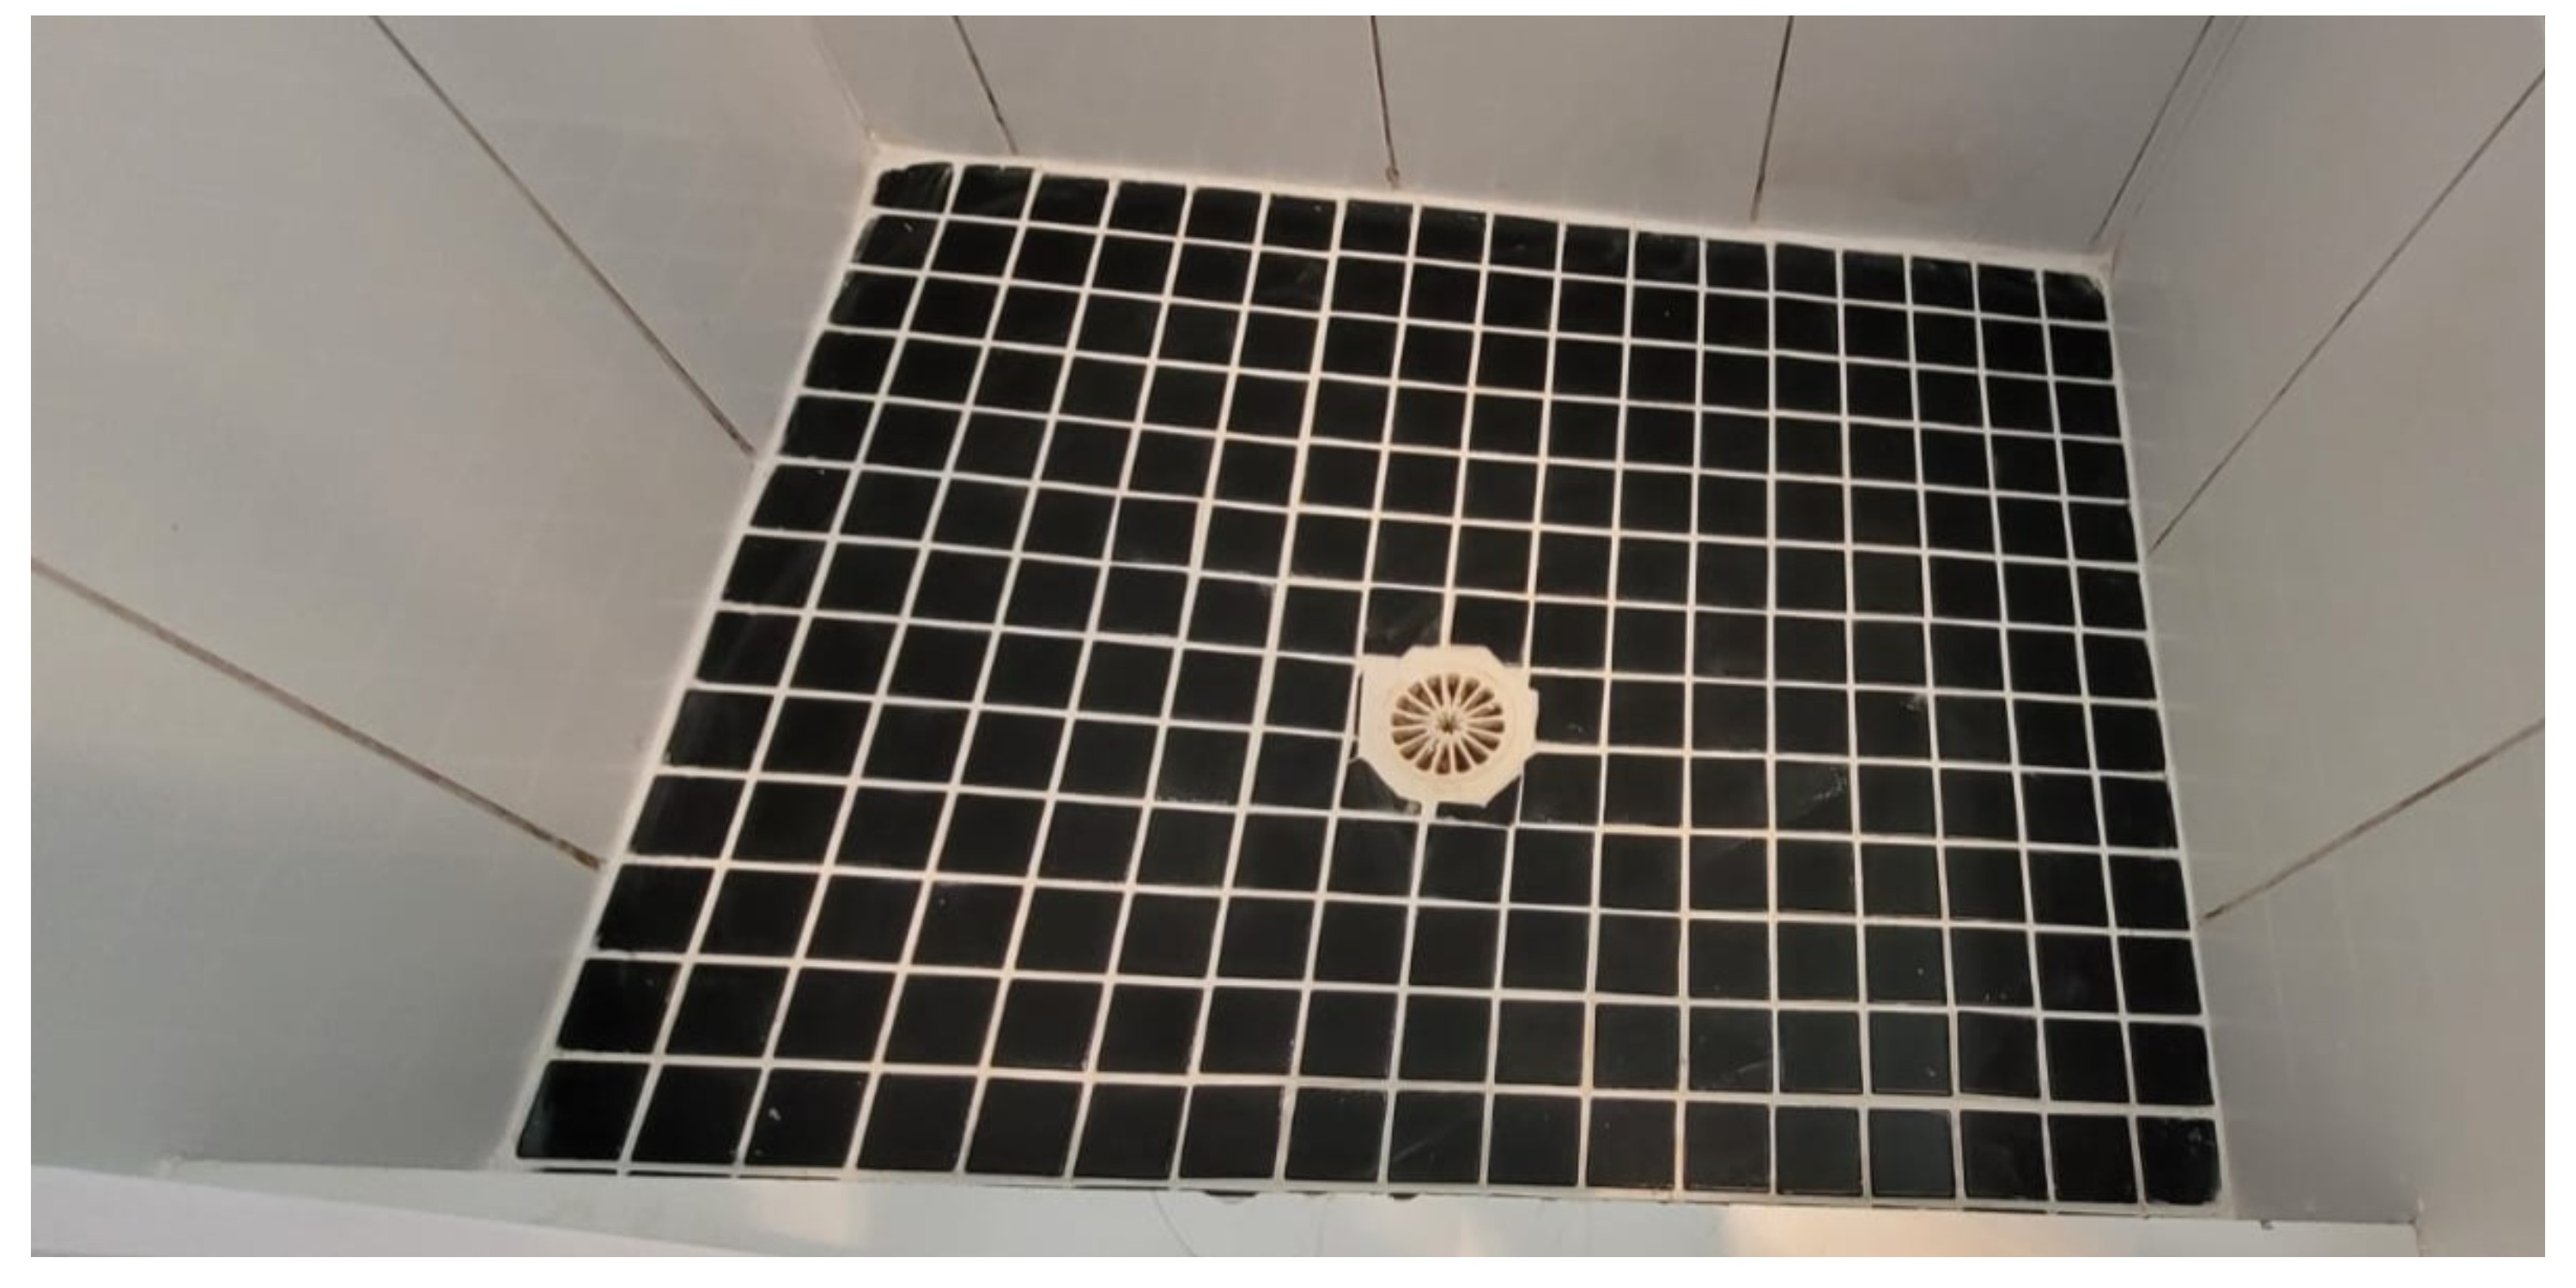
These customer-supplied before photos show the shower prior to work. The finished photos show the restored joints and clean perimeter sealing after completion.
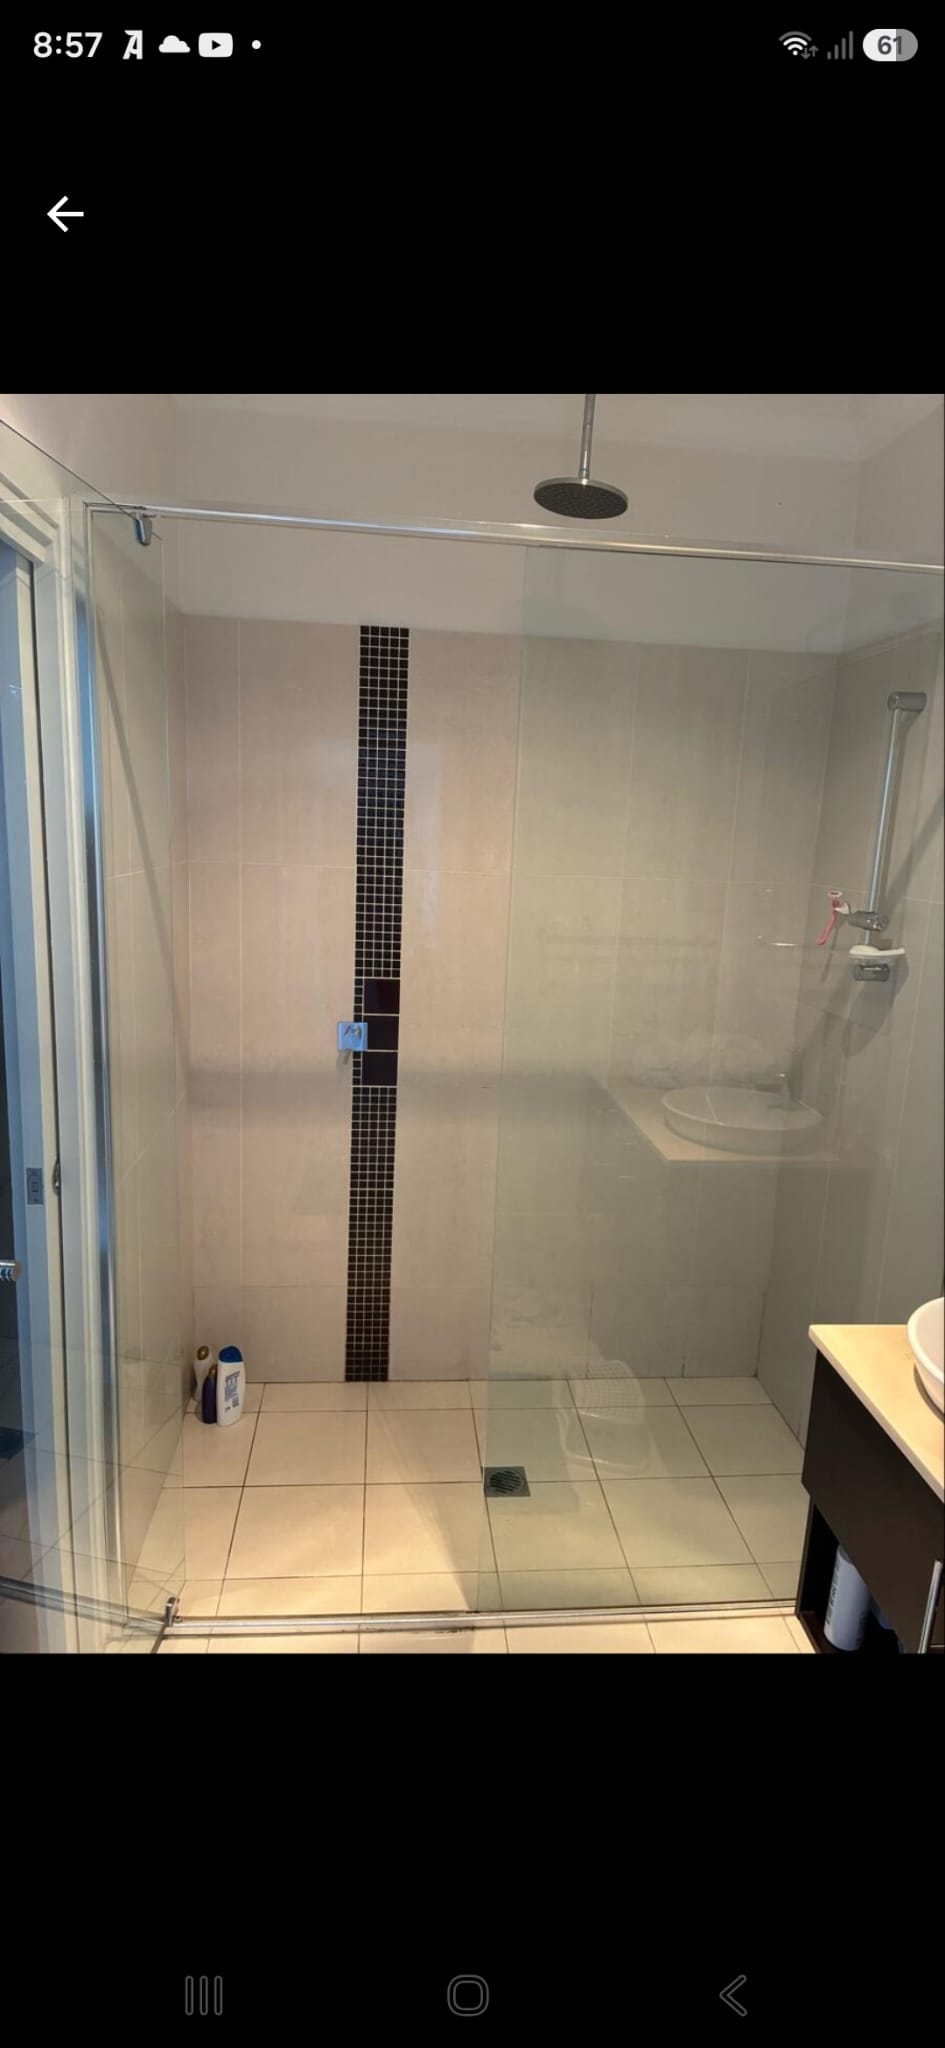
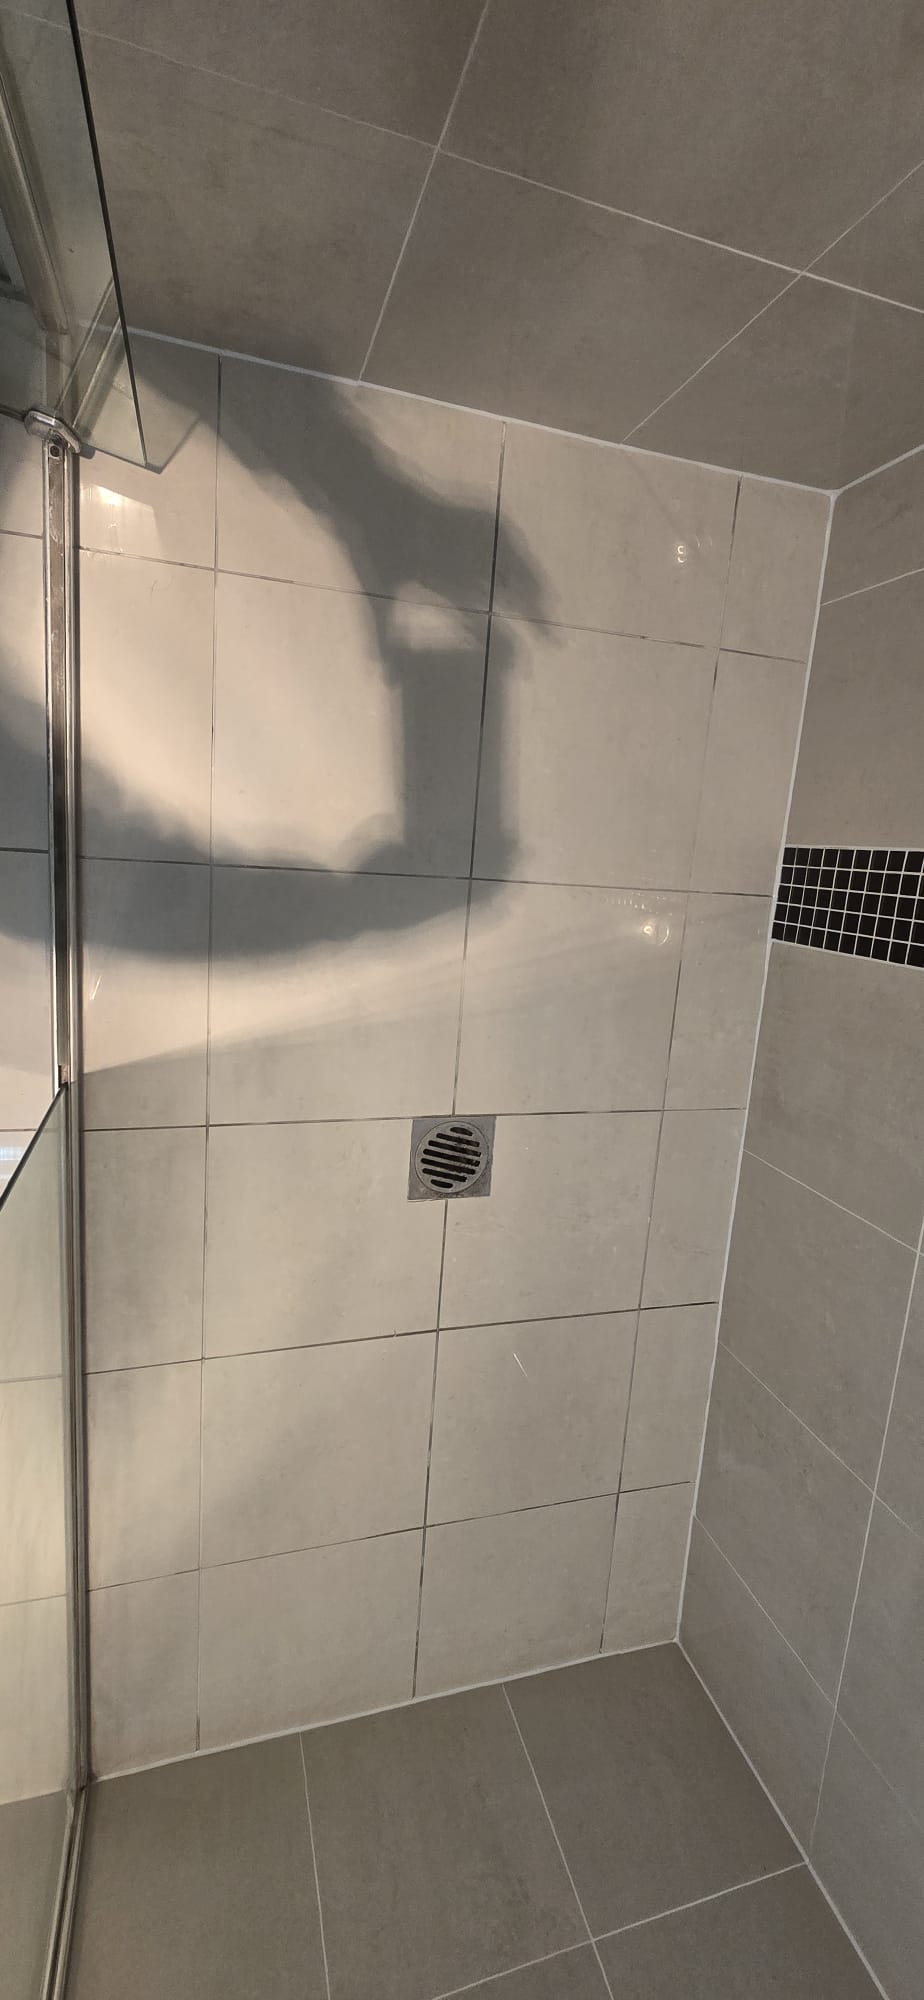 BeforeAfter
Drag the slider to compare the job
Recent shower sealing work
The original photographs show discoloured joints and the shower before professional attention. After the work, the perimeter and vulnerable junctions have a cleaner, consistent finish.
More transformations
Drag each slider to compare earlier grout and joint conditions with the completed repair.
BeforeAfterDamaged shower-floor joints restored to a cleaner, sealed finish.
 BeforeAfter
Worn and discoloured joints repaired without removing tiles.
 BeforeAfter
Failed perimeter areas replaced with a neat, durable finish.